|
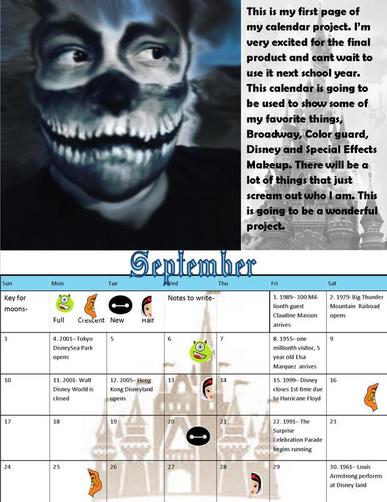
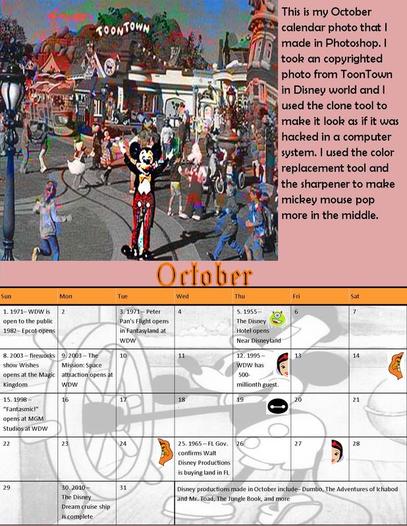
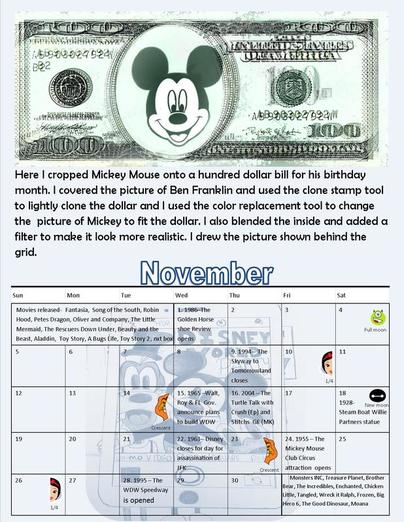
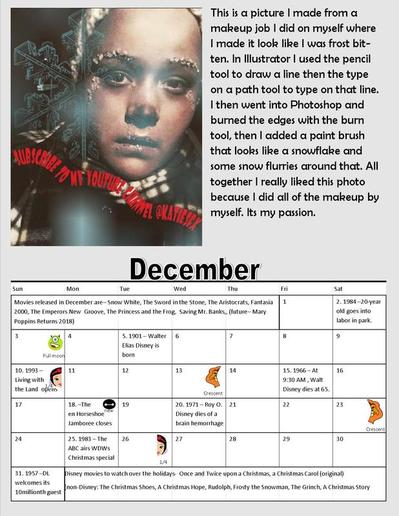
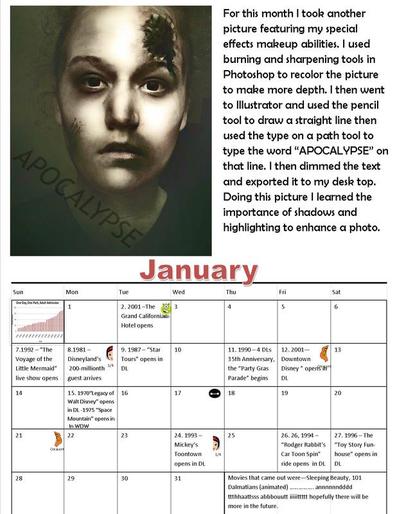
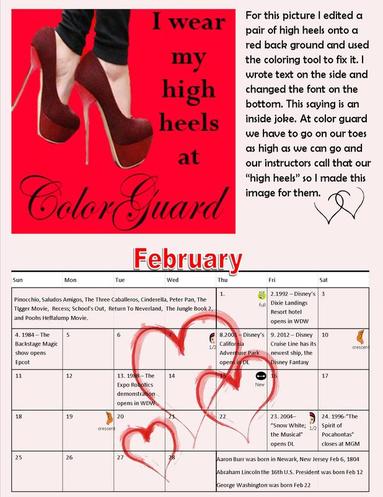
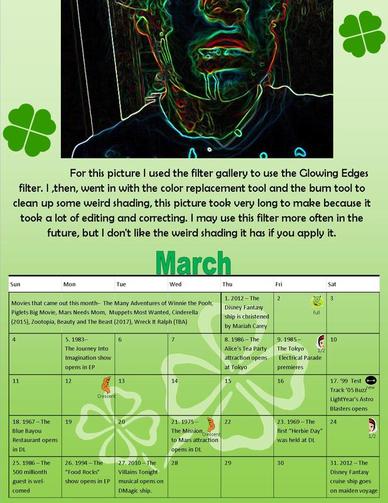
This is my September Calender page. on the top i have a picture of me in special effects makeup edited to be smudged and blue. i then wrote a small paragraph on the right and entered a picture of a castle in the background. i wrote the month "September" in the middle of the page as a divider into the actual calendar. in the open space i made a key for the symbols of each moon; full, new, crescent, and half. i then went day by day entering facts about Disney that happened on that day. the days that weren't interesting were left blank. in this month i learned how to create a calendar page and the format that is needed to pull it off Here is my October calendar page, i edited a picture from AN UN-COPYRIGHTED picture on the internet. it was made to look pixely and sort of like i made the picture go in 3D without the glasses. i sharpened mickey in the center and recolored a lot using the stamp tool. i then wrote out a paragraph and put it on the side of the picture and inserted a pink background. i wrote "October" in the center of the page to divide the picture from the calendar. i then put a picture of mickey mouse in the background and put Disney facts day by day. i put the moons on the appropriate dates and in the empty space i listed the Disney movies that came out in that month in history. during this month i learned how to use the stamp tool and the recolor tool to edit a photo and i figured out how to put a colored background behind the actual calendar. This is my November calendar page. for the picture i edited a picture of mickey on a 100 dollar bill, i then used the stamp tool to make the bill look older, then i recolored the mickey mouse to fit the color of the actual bill. i think my only issue was that Photoshop didn't let me center the mickey in the middle of the bill, when i tried the purple line would show up and it wouldn't let me move it where i wanted it. after i entered the picture i wrote a small paragraph of what i did under it. i wrote the month "November" in the center as a divider and did the same things i did in the other months; put the moons, movies released, and day by day history. for this month i had to enter a hand drawn picture in the background and so i did. my picture is of a phone taking Mickey Mouse, Donald Duck, and Goofy's picture. for this page i learned how to place a text box over a calendar rather than typing in the page itself, i then learned the importance of color shading. Here is my "December" calendar page. for this picture i used my special effects makeup again and edited it and added a snowflake to compliment the makeup. i had to use the type on a path tool and i wrote to subscribe to my Youtube channel. i inserted the picture and wrote a paragraph explaining what i did on the side. i wrote the month "December" in the center as a divider and then i did the same thing i did for all the other months before; put the moons, movies released, and day by day history. i then added another list on the bottom in the extra space i had that listed really good Holiday movies to watch. for this calendar i used more time to create my picture and really paid attention to detail. i learned how to properly format extra spaces in a calendar and i also decreased the size of the moons to label them better. This is my "January" calendar page. for the picture i used another one of my special effects makeup looks and edited it to look like a post apocalyptic look, i used the type on a path tool and added a bunch of shading. i then inserted the picture and wrote a paragraph on the side of it. i wrote the month "January" in the middle as a divider and then did the same things i did in other months; put the moons, movies released, and day by day history. i added some new things as well, i added a small picture of Disney ticket prices over time in the left side, and i colored that to match the format. i learned how to properly shade and burn a picture to get the image wanted, and i learned how to incorporate size difference in the texts to make everything fit and look clean. This is my calendar page for the month of "February". i edited a pair of high heels and painted a red background and wrote the words "I wear my high heels at color guard" for this month you had to create a picture that wasn't taught to you by Mr. Adams. i used specific tools and painting tools to edit the shoes that i have never done in this class before i also learned how to change text font in the middle of a text box. after inserting the picture i wrote a paragraph on the side and added small clip art hearts underneath it. i wrote the month "February" as a divider and did the repeated steps; put the moons, movies released, and day by day history. i also had extra space so i put famous birthdays in the bottom right. i added a picture of red hearts in the background, and made sure it didn't overpower any text. i learned how to change clip art designs to fit in the theme color. i also learned how to make the background of the calendar clear so it will match the background of the whole calendar. This is my "March" calendar page. for this month i used another one of my more recent SFX makeup looks and put a very heavy filter on top, a filter never shown by Mr. Adams. i then edited the picture to be more linear and added it on the top middle of my calendar. i added small clip art clovers and wrote a small paragraph underneath it. i wrote the month "March" and did the very repeated steps; put the moons, movies released, and day by day history. there were no added spaces so i didn't do anything particularly new. for this page i didn't learn much other than how to properly edit a filter into a picture to make it look ideal and edited to look neat and less chaotic. |
term 3
calendar pages
